Alright, let's talk about asphalt driveways for your home. It's a big investment, and you want to get it right, obviously. I've seen a lot of driveways come and go around Clearwater, and there's definitely a right way and a wrong way to go about things. So, if you're thinking about a new one, or maybe a big repair job, here's my take on what you need to know from start to finish.
Before You Start: Planning Your Asphalt Project
First things first, don't just jump into this. A good asphalt driveway starts with good planning. You've got to think about a few things upfront.
- What's the goal? Are you putting in a brand-new driveway where there's just grass now? Or are you tearing out an old concrete one? Maybe you're just looking to resurface an existing asphalt driveway that's seen better days. Each of these needs a different approach, and yes, a different budget.
- Drainage is key. This is huge, especially with our Kansas weather. You don't want water pooling up on your driveway; it'll cause cracks, potholes, and all sorts of headaches down the line. Think about where the water will go. Does it naturally slope away from your house? Will it run into a neighbor's yard or a storm drain? Sometimes you need to add a drain or change the grade a bit. This isn't usually a DIY job; you'll want a pro to look at your property's specific layout.
- The base layer. This is probably the most overlooked part of a good asphalt driveway. The asphalt itself is just the top layer. What's underneath — the sub-base and base — is what gives your driveway its strength and longevity. If the base isn't properly prepared and compacted, you're going to have problems, guaranteed. Our clay-heavy soils around Clearwater can be tricky, so proper excavation and a good, solid aggregate base are non-negotiable.
- Permits? For most residential driveways, you probably won't need a city permit unless you're changing the curb cut or doing something really extensive that impacts public right-of-way. But it never hurts to make a quick call to the Clearwater City Hall planning department just to be sure. Better safe than sorry, right?
- DIY vs. Pro: Can you do any of this yourself? Maybe some of the initial clearing if you're strong and have access to equipment. But for the heavy lifting – excavation, grading, base installation, and definitely the asphalt paving itself – you're going to need a professional. This isn't a weekend warrior project if you want it to last.
During the Project: What to Expect
Once you've got a plan and you've picked a reputable contractor (like us at All Star Asphalt Inc, for example), here's what you can expect during the actual work.
- Preparation is everything. The crew will start by clearing the area, excavating to the right depth, and then laying down and compacting the base layers. This can take a bit of time, and it's dusty work. You'll see heavy equipment, dump trucks, and rollers.
- The Paving Day: This is the exciting part. The hot asphalt mix arrives in insulated trucks. A paver machine spreads it, and then heavy rollers compact it. The asphalt is hot, so you'll see steam. The smell of fresh asphalt is pretty distinct, too.
- Compaction, compaction, compaction. I can't stress this enough. Getting the asphalt properly compacted is critical for its density and durability. A good crew will make multiple passes with different types of rollers to get it right.
- It's a process. Don't expect it to be done in an hour. Even a small residential driveway takes time to prepare, pave, and compact properly.
After the Project: Caring for Your New Driveway
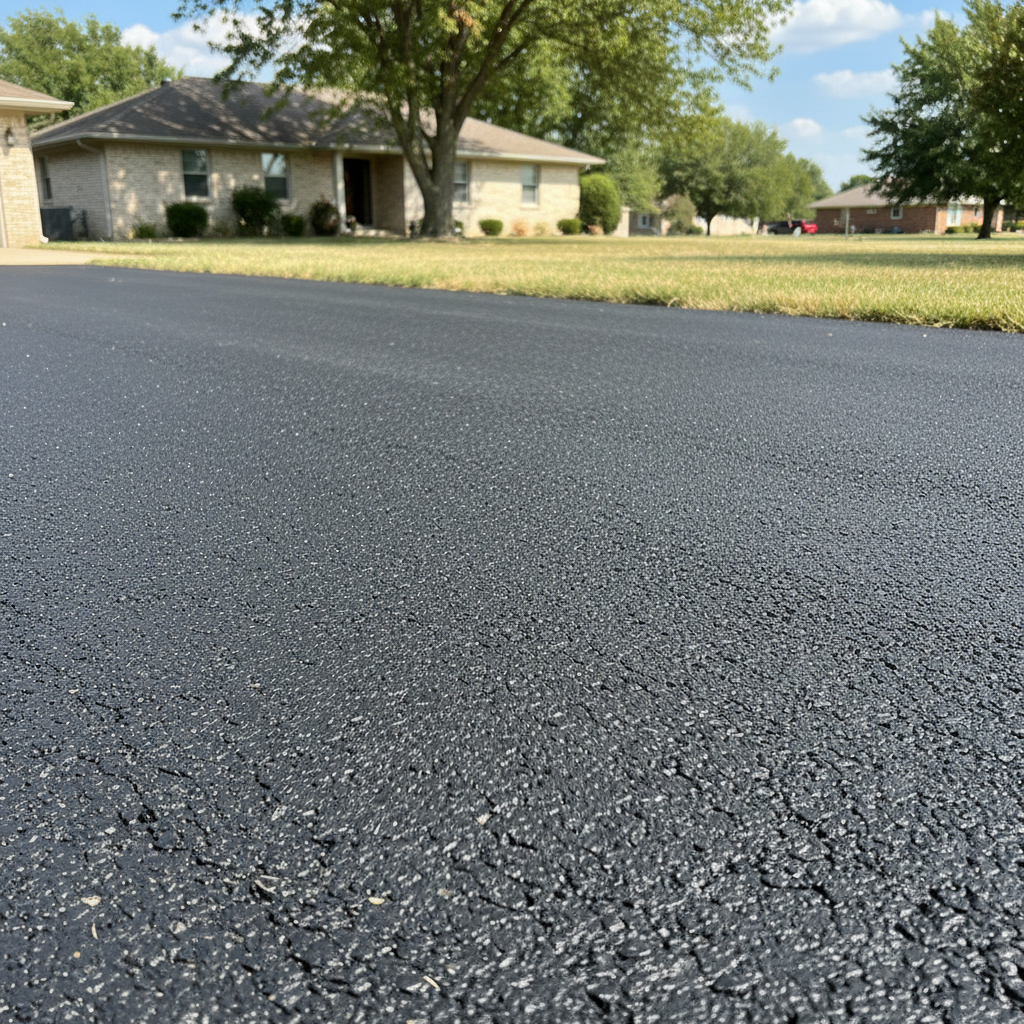
So, the crew's packed up, and you've got a beautiful new black driveway. Now what? Your job isn't quite over.
- Stay off it! This is the golden rule. For at least 24-48 hours, maybe longer if it's really hot out, keep vehicles off your new driveway. The asphalt needs to cool and cure. Walking on it is usually fine, but no heavy traffic.
- Be gentle for a while. For the first few months, your asphalt is still curing. Avoid parking heavy RVs or trailers on it for extended periods. Don't turn your steering wheel sharply while the vehicle is stationary – that can scuff and damage the surface.
- Water it down. On really hot days, especially during those scorching Kansas summers, a light spray of water can help cool the asphalt and aid in the curing process. It's not strictly necessary, but it can help.
- Sealcoating. This is your first line of defense against the elements. I usually recommend waiting 6-12 months after installation for the first sealcoat. This gives the asphalt time to fully cure. After that, every 2-3 years, depending on traffic and sun exposure, is a good schedule. This is definitely a job you can tackle yourself if you're up for it, but a professional job will usually last longer and look more uniform.
- Patching and crack filling. You'll eventually get some small cracks. It's inevitable. Catch them early! Small cracks are easy to fill with asphalt crack filler you can buy at any hardware store. If you let them go, water gets in, freezes, expands, and turns a small crack into a big pothole. For larger potholes or significant damage, that's when you call in a pro.
Look, a well-installed and maintained asphalt driveway can last you 20 years or more. It just takes a little know-how and some proactive care. Don't cut corners on the base, respect the curing time, and keep an eye on those cracks. Do that, and you'll be set for a long time.